Almond Lace Tuiles
Ingredients
- 2/3 cup caster sugar (superfine sugar)
- 1/4 cup plain flour (all-purpose flour)
- 50g / 3 1/2 tbsp unsalted butter (, melted)
- 3 tbsp orange juice ((Note: I use 15 ml tablespoons. Some tablespoon measures in Australia are 20 ml))
- 3/4 cup almond flakes (, or slivered almonds)
Steps
- 1
Mix flour and sugar, mix in butter and orange juice, then almonds. Refrigerate 2 hours. Dollop 4 x 1 tbsp mounds on a tray (do 2 trays). Bake 5 min, spread melted tuiles into 10cm/4" circles, bake 13-15 min until deep golden. Cool 1 - 1 1/2 min, lift and shape on rolling pins, will crisp as they cool.
- 2
Mix dry – In a bowl, combine the caster sugar and plain flour using a wooden spoon or a spatula.
- 3
Add wet – Pour in the melted butter and orange juice. Mix until combined.
- 4
Add almonds – Gently fold in the almond flakes. The batter is quite loose, it is not a stiff cookie dough.
- 5
Refrigerate for 2 hours. This firms up the batter to make it scoop-able.
- 6
Preheat the oven to 170°C / 340°F (150°C fan-forced). Line 2 baking trays with baking paper / parchment paper.
- 7
Mounds - Scoop a tablespoon of mixture out of the bowl and use a teaspoon to scoop it out onto the tray. Do 4 mounds on each tray, leaving about 10cm / 4” between each mound.
- 8
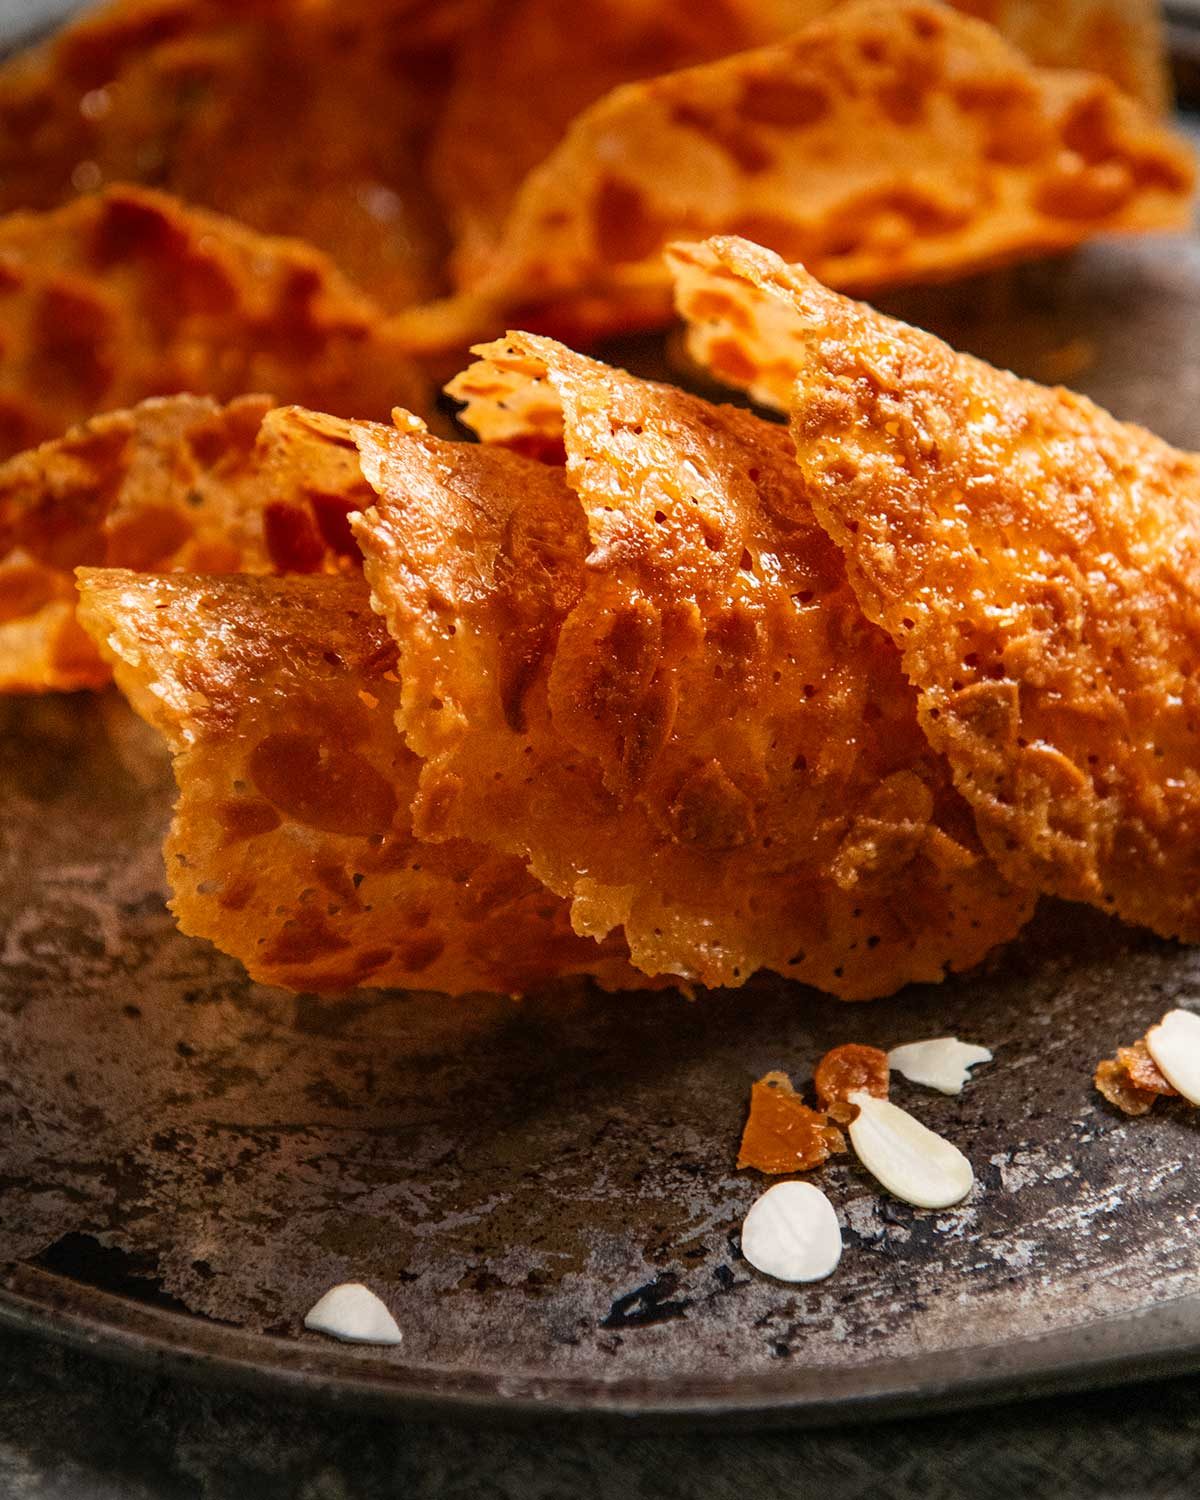
First bake – Bake for 5 minutes. The mounds will have melted (mostly or fully). Remove the trays and, using a fork, gently press and spread each into a 10cm/4" circle - do your best, they don't have to be perfect circles. Don't worry if you have holes, they will close up as the batter melts in the 2nd bake. This step is what makes the tuiles so thin they end up with the signature see-through lace pattern.
- 9
Second bake – Return to the oven and bake for another 13 to 15 minutes until they are deep golden brown, not just a light golden. The bottom tray may need an extra 1 to 2 minutes.
- 10
Prepare shaping station – Place 2 rolling pins over folded tea towels so they stay stable. (Note 1)
- 11
Cool 1 minute – Remove trays from the oven. Let the tuiles cool on the tray for 1 to 1 1/2 minutes so they slightly firm up enough to be able to lift them with a spatula without breaking. (Note 2) If the tuiles have melted into each other, separate them during this time - just use a butter knife.
- 12
Shaping - The video is helpful here (at 1.05 minutes ). Working quickly, gently lift them using an offset spatula or regular spatula and place them over the rolling pins to create their signature curved shape. If the tuiles set too much to be shaped, pop them back into the oven for a minute or two, until they become pliable again.
- 13
Cool to crisp - Leave to fully cool and crisp (about 5 minutes) then transfer onto a cooling rack to fully cool. (Note 3)
- 14
Repeat the same process with the remaining tuile mixture.
- 15
Serve with desserts, ice cream, coffee or simply enjoy as a crisp sweet snack. They are also lovely filled with whipped cream and berries, as pictured in the post.