Sourdough Donuts
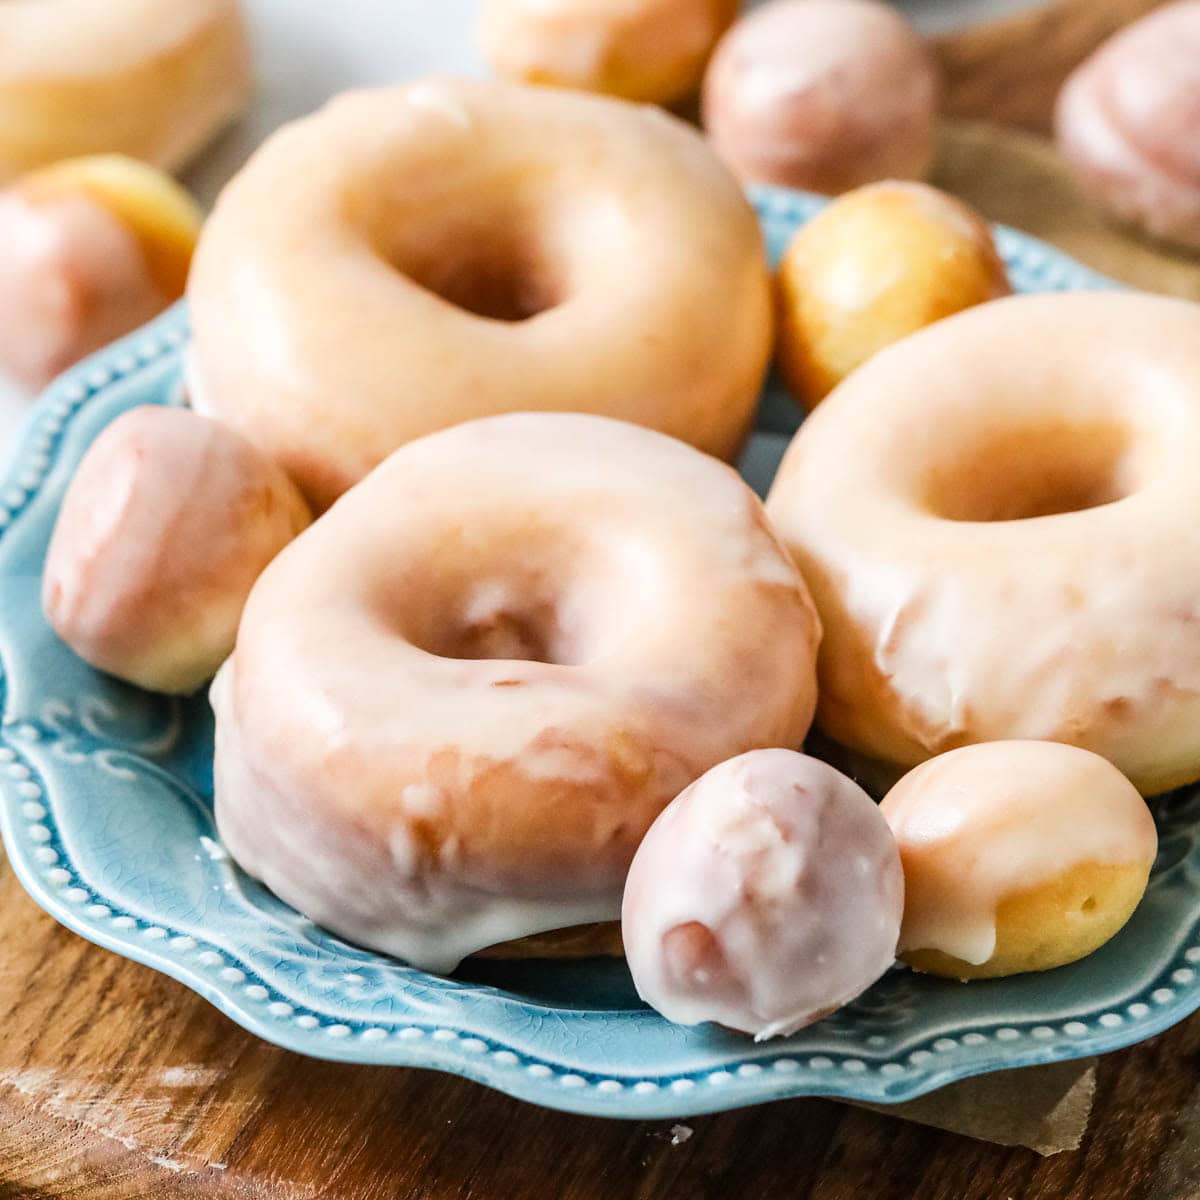
Ingredients
- ⅓ cup milk (I use whole milk )
- ⅔ cup active sourdough starter
- 2 large eggs (room temperature)
- ⅓ cup granulated sugar
- ½ teaspoon vanilla extract
- 3 cups all-purpose flour (plus additional as needed )
- ¾ teaspoon table salt
- 6 Tablespoons unsalted butter (very soft and cut into 6 pieces )
- Neutral cooking oil (for frying (vegetable, canola, or avocado oil))
- 1 ½ cups powdered sugar
- ¼ cup salted butter (melted )
- ½ teaspoon vanilla extract
- 1 ½ -2 Tablespoons hot water
Steps
- 1
BEFORE BEGINNING: Note that this recipe requires 6-8 hours (sometimes longer!) resting at room temperature followed by a 12+ hour overnight fermentation in the refrigerator, and then 1-3 hours of rising the next day. I recommend preparing the dough in the morning or early afternoon and then cutting and frying the donuts the next day.
- 2
Pour sourdough starter into the bowl of your stand mixer fitted with the paddle attachment. Warm the milk to 100F-110F (38C-43C) and add to the sourdough starter, stir to combine.
- 3
Add eggs, sugar, vanilla extract, and about 2 cups (250g) of flour. Sprinkle salt over the flour and stir well until all ingredients are well combined.
- 4
Turn your stand mixer on low and add butter 1 Tablespoon at a time until all butter is incorporated.
- 5
Switch the paddle attachment out for the dough hook and, with mixer on low-speed, slowly add remaining flour as needed until dough forms a ball that pulls away from the slides of the bowl and clings to itself (you may not need the full cup/125g of flour, or you may need more to reach the proper consistency).
- 6
Continue kneading until dough is smooth and elastic, about 7-10 minutes on low speed (I use speed 2 on my mixer). The dough will still be slightly tacky but should not stick to your fingertips if prodded.
- 7
Place dough into a large, lightly oiled bowl, cover with plastic wrap, and let sit in a warm draft-free place until doubled in size (typically 6-8 hours, but this can take longer if your kitchen is cold, look for a warm place to keep your dough). Once doubled in size, transfer bowl to the refrigerator and refrigerate overnight.
- 8
Cut twelve 6” squares of parchment paper to place your donuts on after cutting (do not use wax paper).
- 9
After overnight ferment, turn dough out onto a clean, lightly floured surface and roll out to be ½” (1.3cm) thick. Use a donut cutter to cut out donuts (I use a 2 ¾” (7cm) donut cutter with a 1 ¼” (3cm) hole).
- 10
Lightly brush each side of the donut with flour (I dip my fingers in flour and then run them around the top and bottom of each donut after cutting it).
- 11
Transfer each donut to its own individual square of parchment and place on a baking sheet (I store the donut holes on a separate parchment lined baking sheet)
- 12
Cover baking sheets with plastic wrap, and let rise in a warm place until donuts are puffed and pass the poke test (below). This is typically 1.5-2 hours, but may take longer in a colder room.
- 13
Check donuts are finished proofing: Donuts will be puffed when they’ve risen. To test that they’re ready to cook, lightly flour a finger and gently press into the dough. If the indent springs back quickly, the donuts need more time. If it springs back slowly and not all the way, they’re perfect and ready to use. If dough doesn’t spring back at all, the donuts are overproofed and the texture won’t be quite right (but I would still cook them anyway).
- 14
When donuts are nearly finished proofing, fill a medium-sized saucepan with about 2” (5cm) of oil and fit a frying thermometer to the side. Heat over medium heat until oil reaches 350F (175C).
- 15
When donuts are finished proofing and oil is heated, fry donuts 1-2 at a time, flipping halfway through, until donut is a light golden brown on both sides (for me this took about 45-60 seconds each side), or until the interior temperature is 185F (85C) if checked with an instant read thermometer. Be sure to allow oil to return to temperature in between frying donuts, and don’t fry too many at once. Carefully remove the donut to a cooling rack or paper towel lined plate and allow to cool briefly (donuts do not need to be cooled completely and can be dipped warm) before glazing.
- 16
Whisk together sugar, melted butter, vanilla extract, and hot water until smooth.
- 17
Dip donuts, one at a time, in glaze, then transfer to a cooling rack and allow glaze to harden before enjoying.